Ready, Set, Weekend with Simply Beautiful Eating

Remember when I posted this cake on Instagram a few weeks ago AND showed you the step by step process on my stories AND you were drooling on your phone screen? Well, let me just say that this was one of the easiest and most delicious baked treats I HAVE EVER MADE. I’m not just saying this because I want you to make it I’m saying it because it’s true.
Oh, and if you’re currently on a diet do yourself a favor and LOOK AWAY because this will make you fall off the “I’m not eating cake” wagon.
Okay, so the real reason I made this particular cake?

It seems that I have two new fans on my street, who happen to be neighbours. I have never seen or met these two guys but they actually started following me because of a suggestion from another one of neighbours. Confused yet? It gets better.

On one of my jaunts to the local park (to steal flowers) I received a direct message from someone named Jeff. He said, “boy that park looks familiar, we are on the same street as you”! Wait, what? I quickly messaged him back and promised that I would introduce myself one day.
What’s better than that? THIS………

As most of you know, I cook and bake for the camera. There are times that we simply can’t eat the leftovers and the great thing about living on my street is that you become an instant recipient or “taste tester” IF you are home. I show up with the goods at your door, usually without an invitation AND no one EVER COMPLAINS.

The day I made this cake, I had it earmarked for my new friends down the street. I walked over and had a lovely chat with them. Next thing I knew, they reciprocated with handing me a clean baking dish AND a lilac tree plant (to discourage me from stealing local flowers AND possible getting arrested for “flower lifting”).
So there’s part one of the story.
Here’s part TWO.

I made this cake again with bit of twist at the request of my husband. He is obsessed with the addition of coffee/espresso flavouring in just about anything. So, when he asked if I could add a boost of coffee into the next cake recipe, I said, “oh heck, why not”?

This time, I had different taste testers. We hosted an intimate dinner for friends and this was one of the main desserts. I served all the sweets buffet style at my kitchen island and then everyone took their coffee, tea and dessert filled plate back to the table – with the exception of ONE person. He took his first piece (and it wasn’t a small slice), then proceeded to pull up a chair at the island so he could be close by to the cake dish. I believe he was standing guard to make sure that others were not going to leave him just small crumbs once they took their portions.

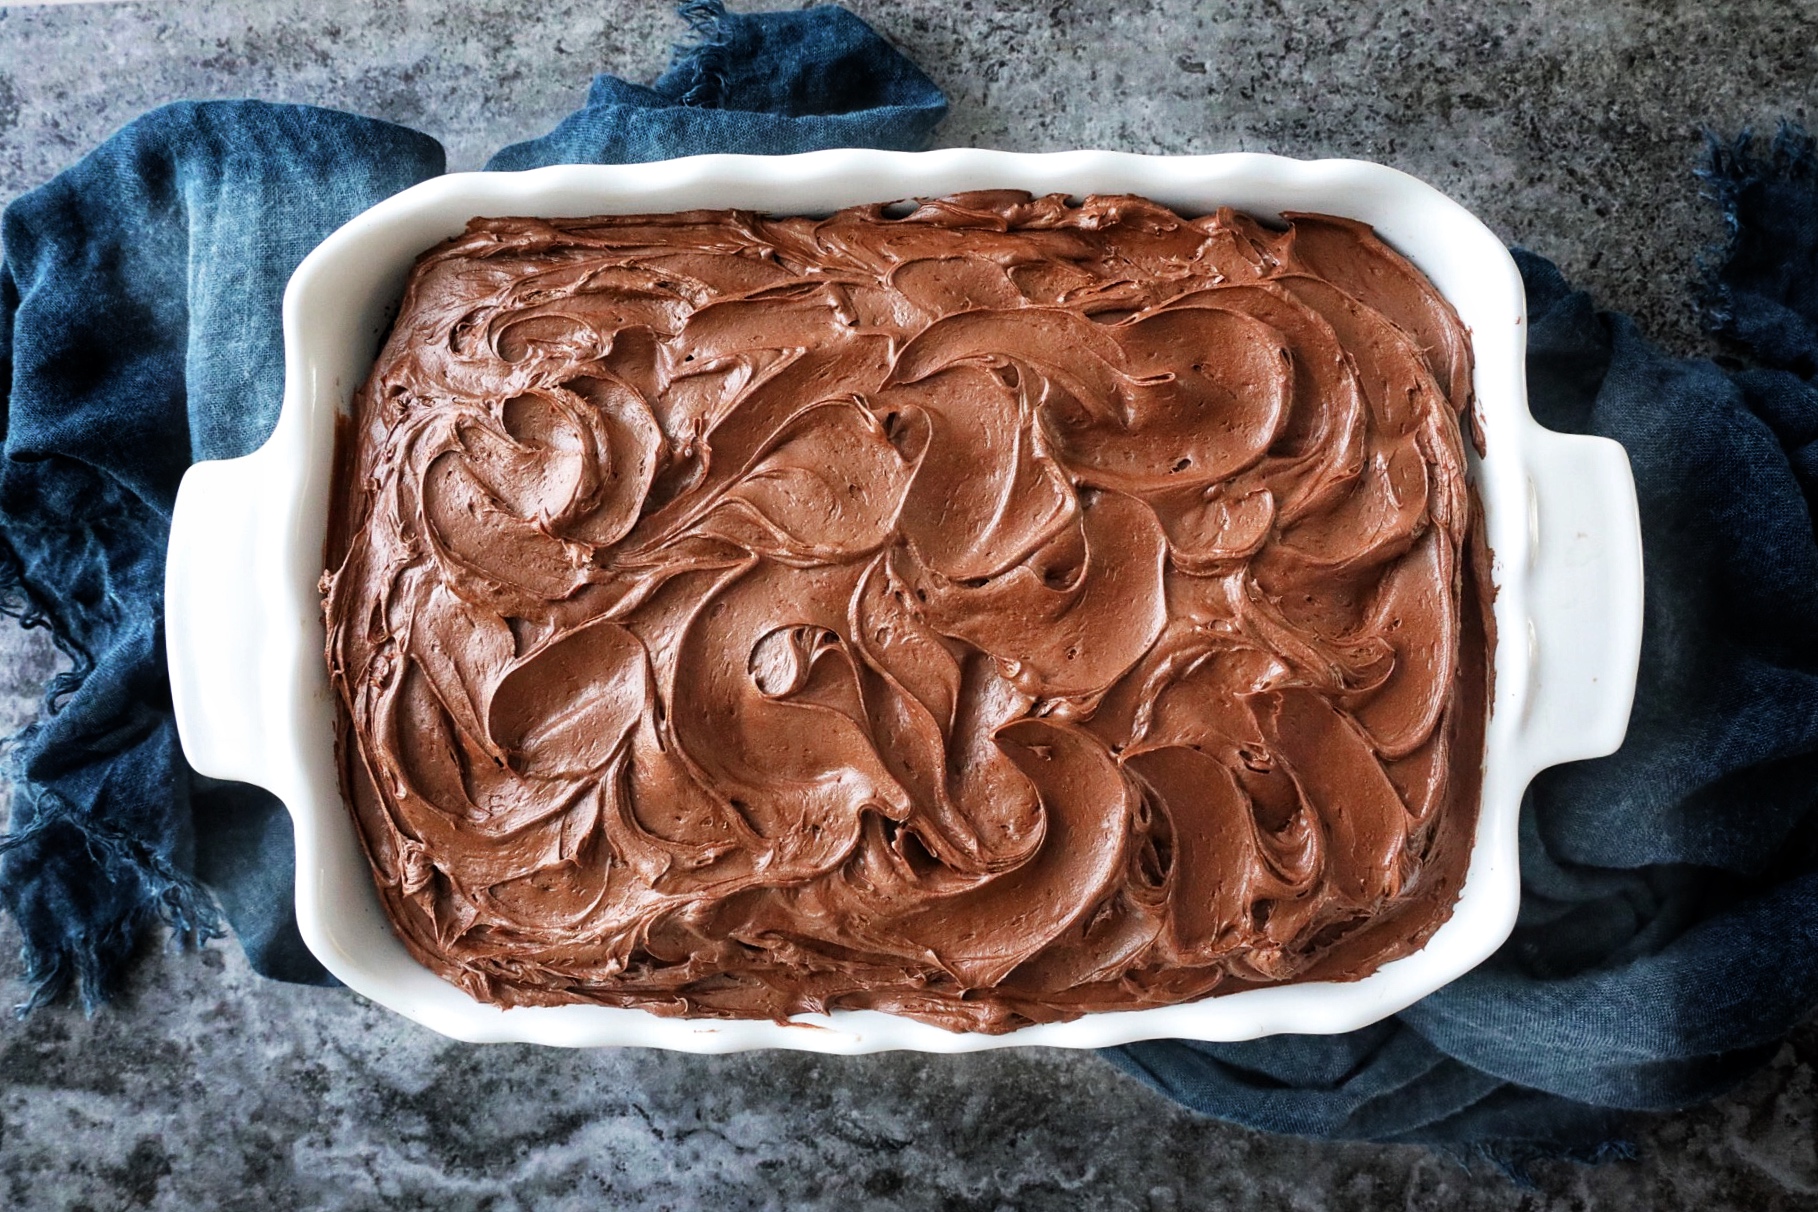
There was definitely enough to go around – even for seconds and leftovers. That’s the beauty of making a cake in a 9 x 13 ceramic dish. It goes a longgggggg way.
I’m going to be very honest here….words cannot describe how yummy this cake is. It’s swirled with with a lightly whipped buttercream and laden with dark cocoa. I highly recommend using the addition of coffee in both the cake and the buttercream. It naturally brings out the flavour of the chocolate and gives it a next level boost.

Another huge bonus to this cake is that it’s SIMPLE! No shmancy equipment or ingredients and you can make it in ONE bowl. Um HELLO.
This is now your everyday go to chocolate cake. Trust me on this one and you’re welcome.

ONE BOWL CHOCOLATE CAKE
2 cups all-purpose flour
2 cups white granulated sugar
¾ cup good quality cocoa powder (I used Ghirardelli)
2 teaspoons baking soda
1 teaspoon baking powder
½ teaspoon salt
2 extra large eggs
1 cup buttermilk (make your own by placing 1 tablespoon white vinegar or fresh lemon juice in a measuring cup, then fill to the 1 cup mark with any type of milk (I used cashew nut)
½ cup vegetable oil
2 teaspoons pure vanilla extract
1 cup very hot water (optional - add in one heaping tablespoon instant coffee to the hot water)
Preheat oven to 350F and coat a 13" x 9" baking dish (you can use glass or ceramic) with cooking spray.
In a large mixing bowl, whisk together the flour, sugar, cocoa powder, baking soda, baking powder, and salt. Using an electric hand (or stand mixer), beat in eggs, buttermilk, oil, and vanilla to the bowl of dry ingredients.
Add hot water (with coffee if desired) and mix until combined. The batter will be thin but that's the way it should look so don't worry.
Pour batter into prepared baking dish. Bake for 40 - 45 minutes or until a toothpick inserted in center comes out clean.
Cool for 20 minutes, then wrap tightly in foil and place into fridge for 1 hour OR into freezer until ready to use another time. This method is going to GUARANTEE a super moist cake when you place it into the cold fridge or freezer while it's still warm.
Top with your favorite buttercream (or my recipe below) when cake is cold and let it come to room temperature before serving.
CHOCOLATE MOCHA BUTTERCREAM
1 cup (2 sticks) unsalted butter, softened
1 teaspoon pure vanilla extract
½ cup cocoa powder
½ tsp sea salt
2 tablespoons instant coffee granules dissolved in 2 tablespoons milk
¼ cup heavy whipping cream
4-5 Cups powdered sugar
With an electric hand mixer (or stand), beat butter until light and fluffy, about 3-4 minutes on medium speed.
Add 3½ cups powdered sugar, cocoa powder, vanilla, heavy cream and 2 tablespoons of milk.
Mix on low until powdered sugar and cocoa powder are incorporated.
If the buttercream frosting is too dry, add another tablespoon of milk. If the buttercream is too wet, add powdered sugar 2 tablespoons at a time until it reaches a beautiful fluffy consistency.