DIY Wooden Spoon Santa Craft
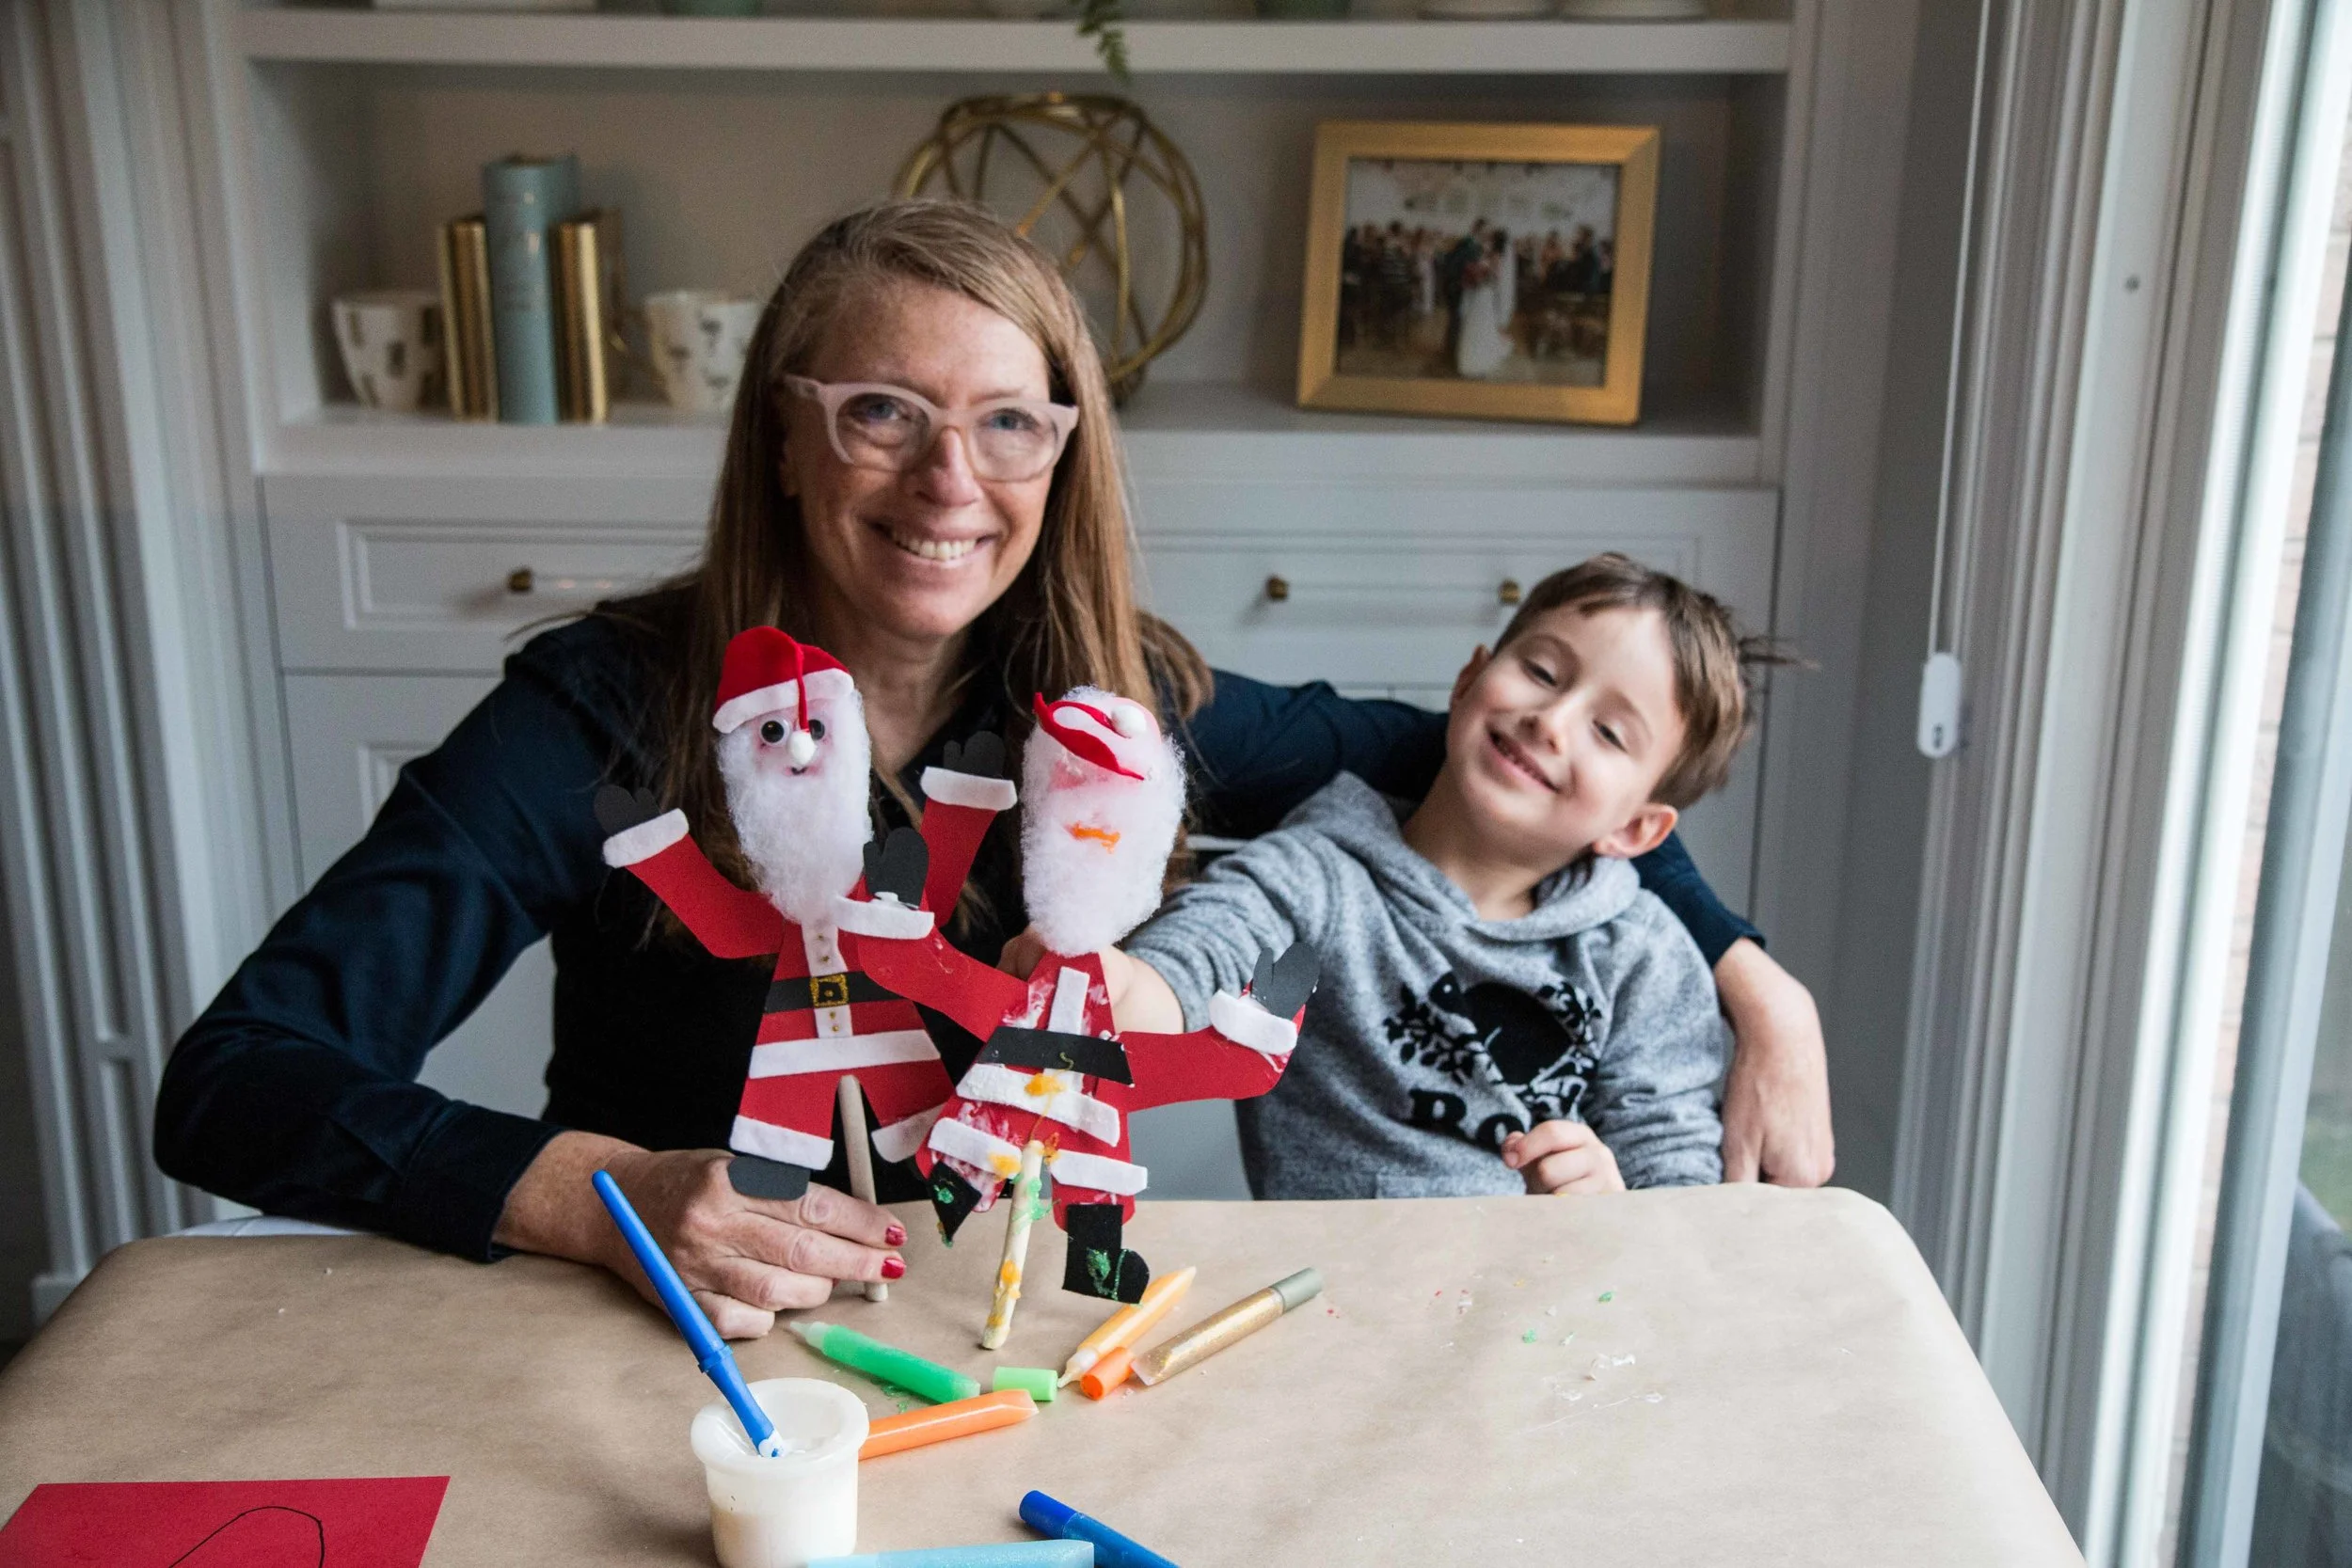
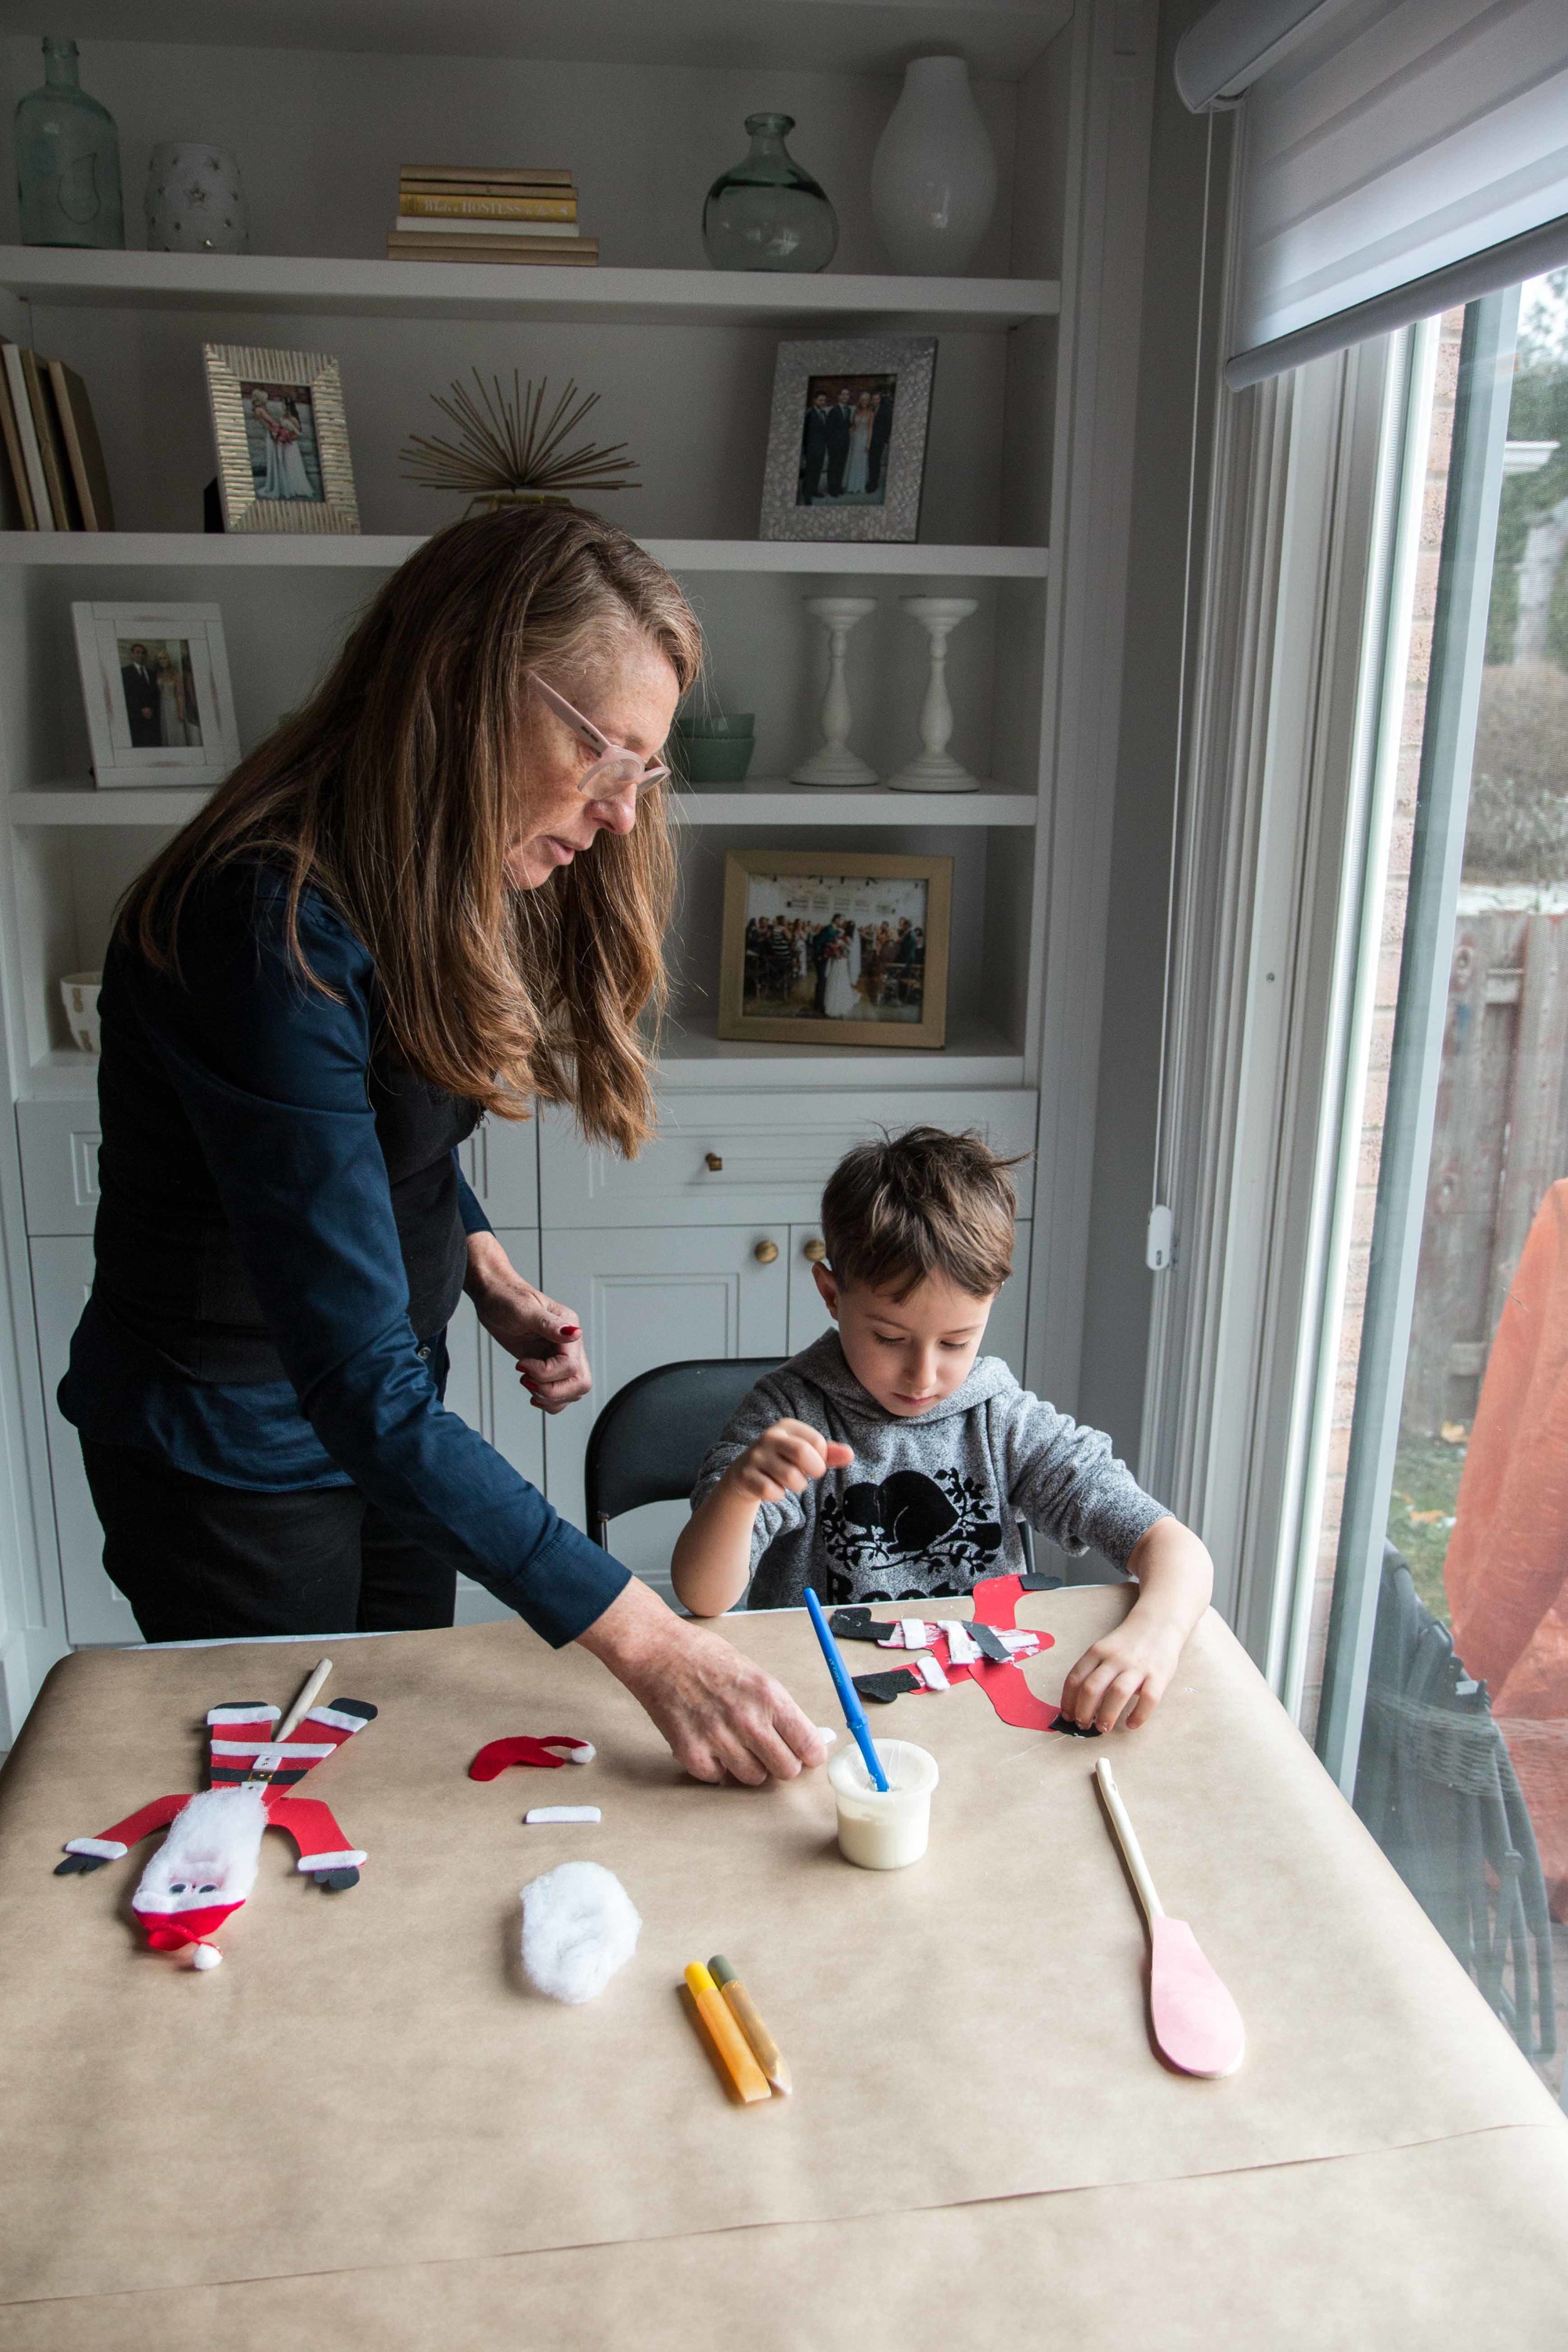
Aunti Marissa is at it again with this fun Santa craft for the holiday season! As we make our way to tons of different parties at this time of year, I can’t help but think what a perfect project this is for any event with kids. Luke had the best time working on his Santa, and it turned out so adorable!
Follow these easy steps with your kids at home for a fun and easy Christmas decoration!

Supplies
- Glue
- A Wooden Spoon
- Red, Black, White, and Pink Construction Paper
- White Cotton
- Black and Red Felt
- A White Pom Pom
- Glitter Glue
- Googly Eyes
- Scissors

Step 1: Use the template provided. Cut out all of the pieces.

Step 2: Glue the face onto the curved side of the spoon.
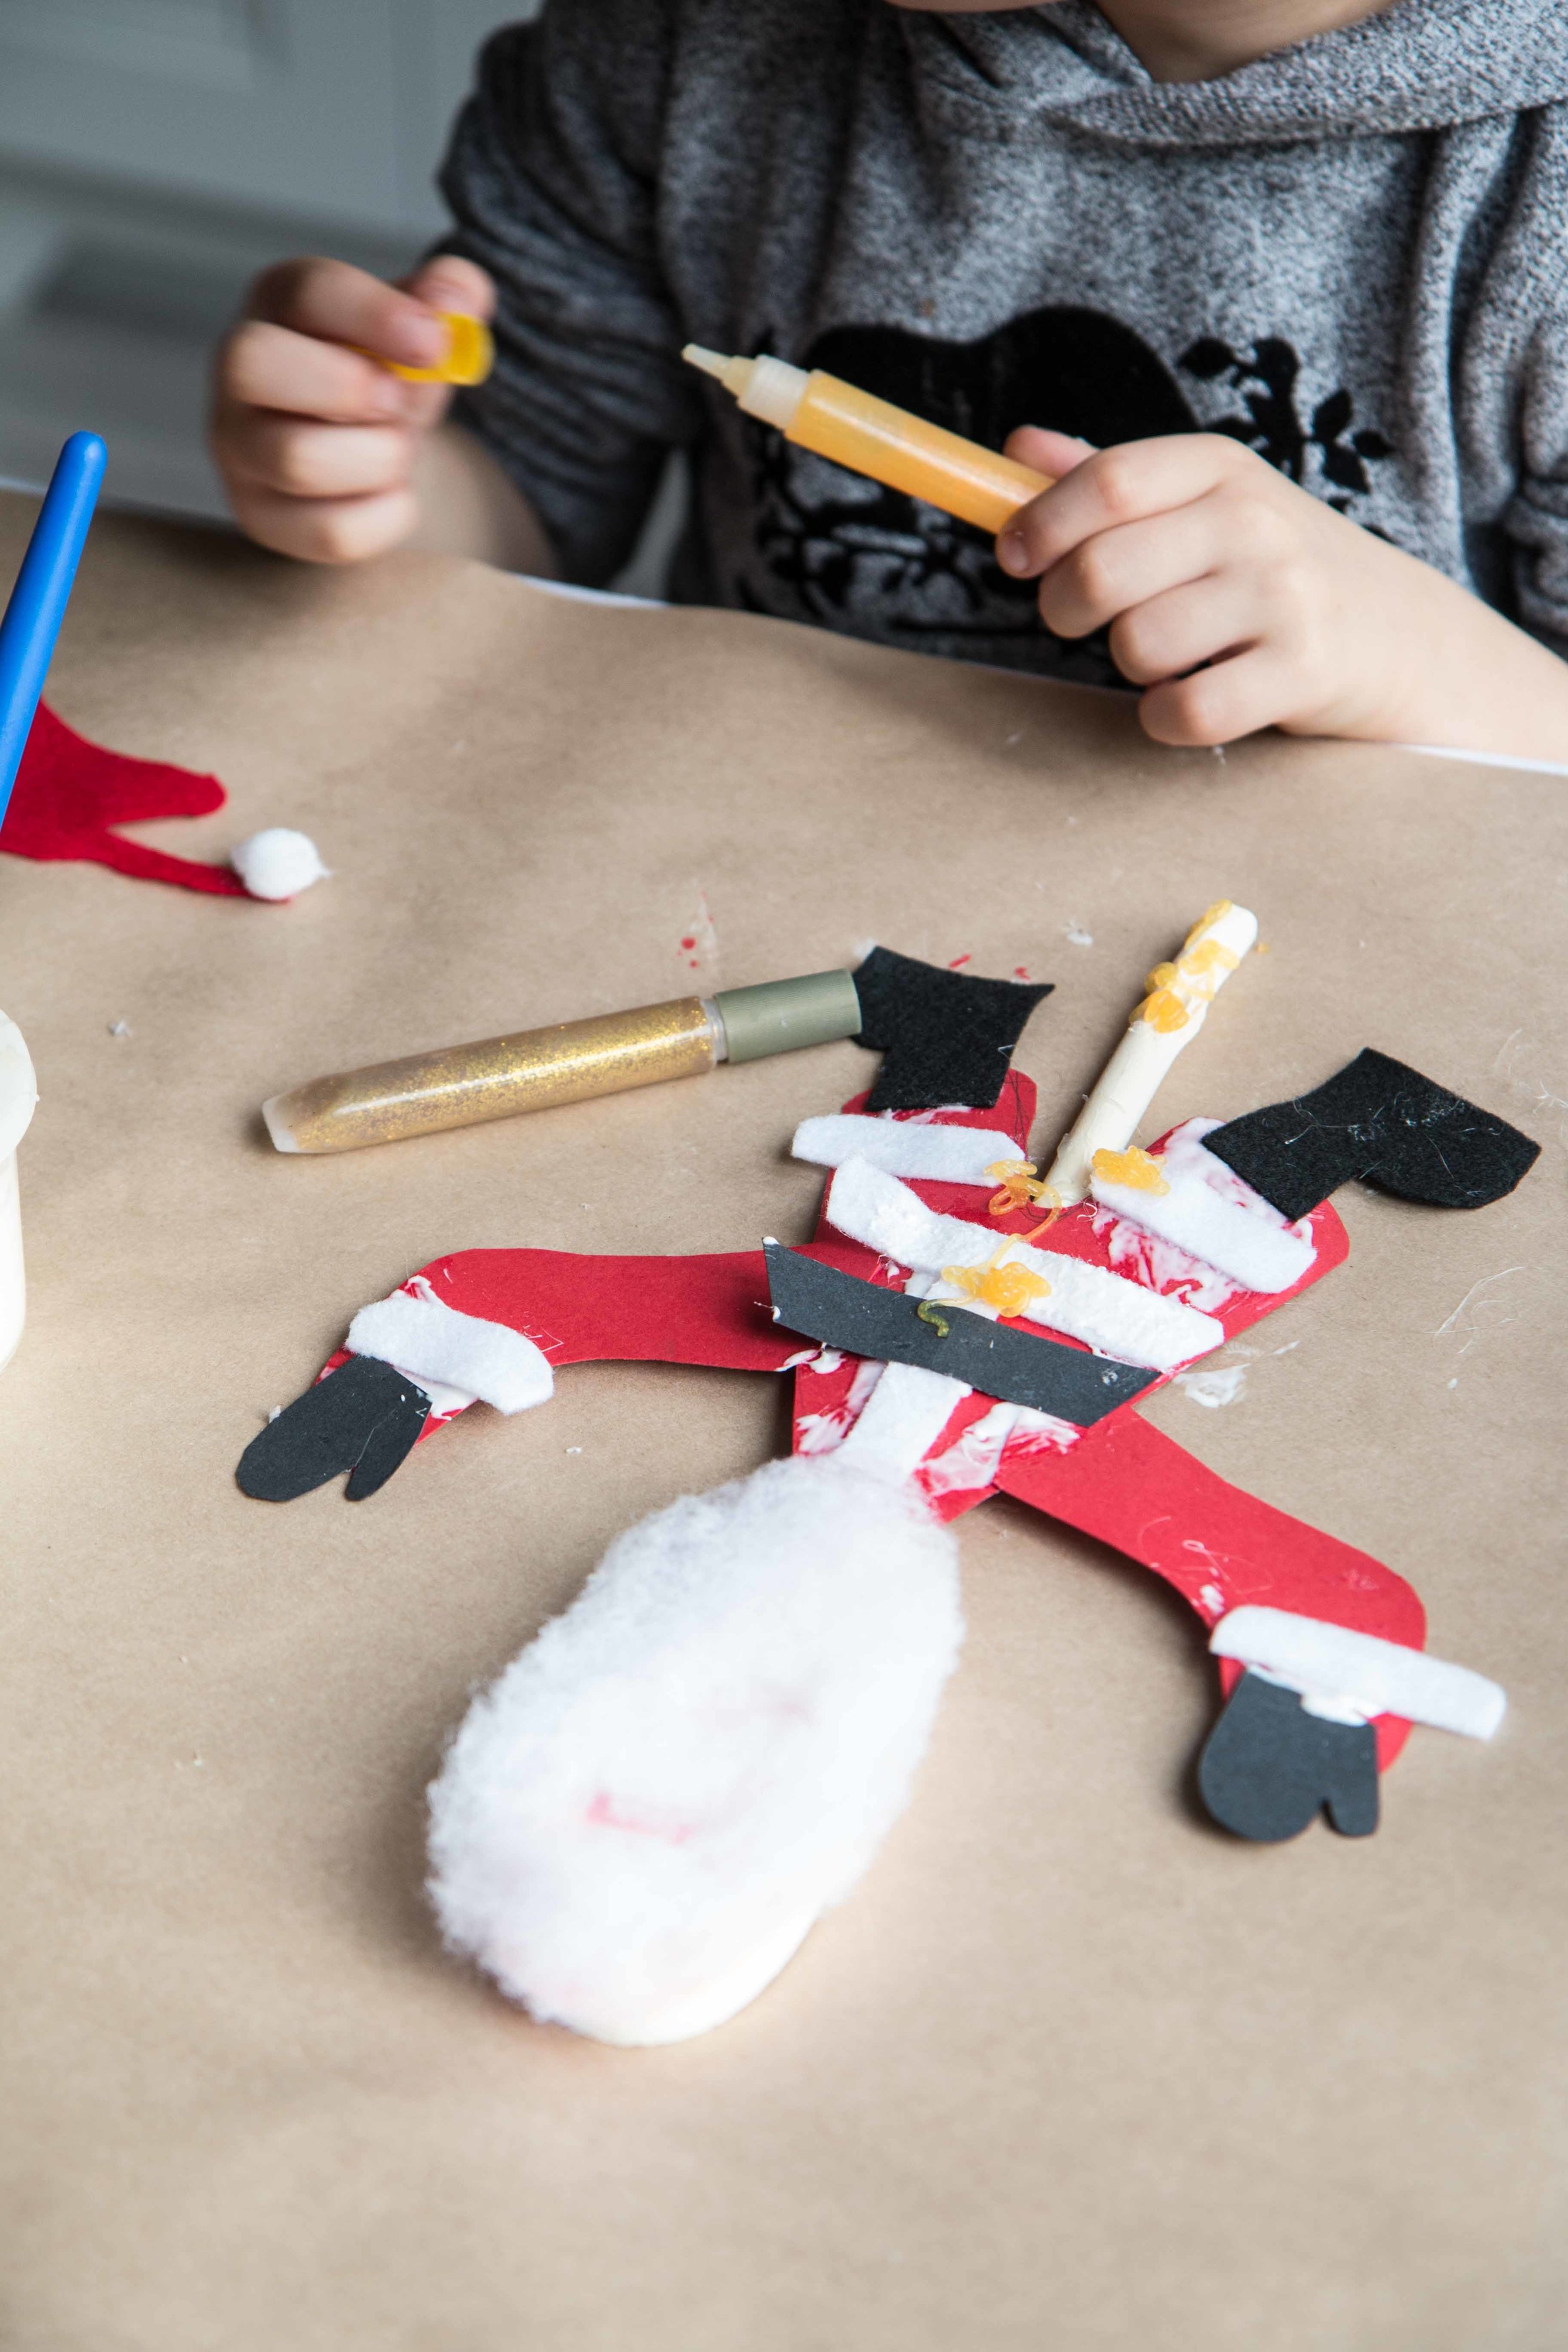
Step 3: Take the body and add the arms to either side of the body.

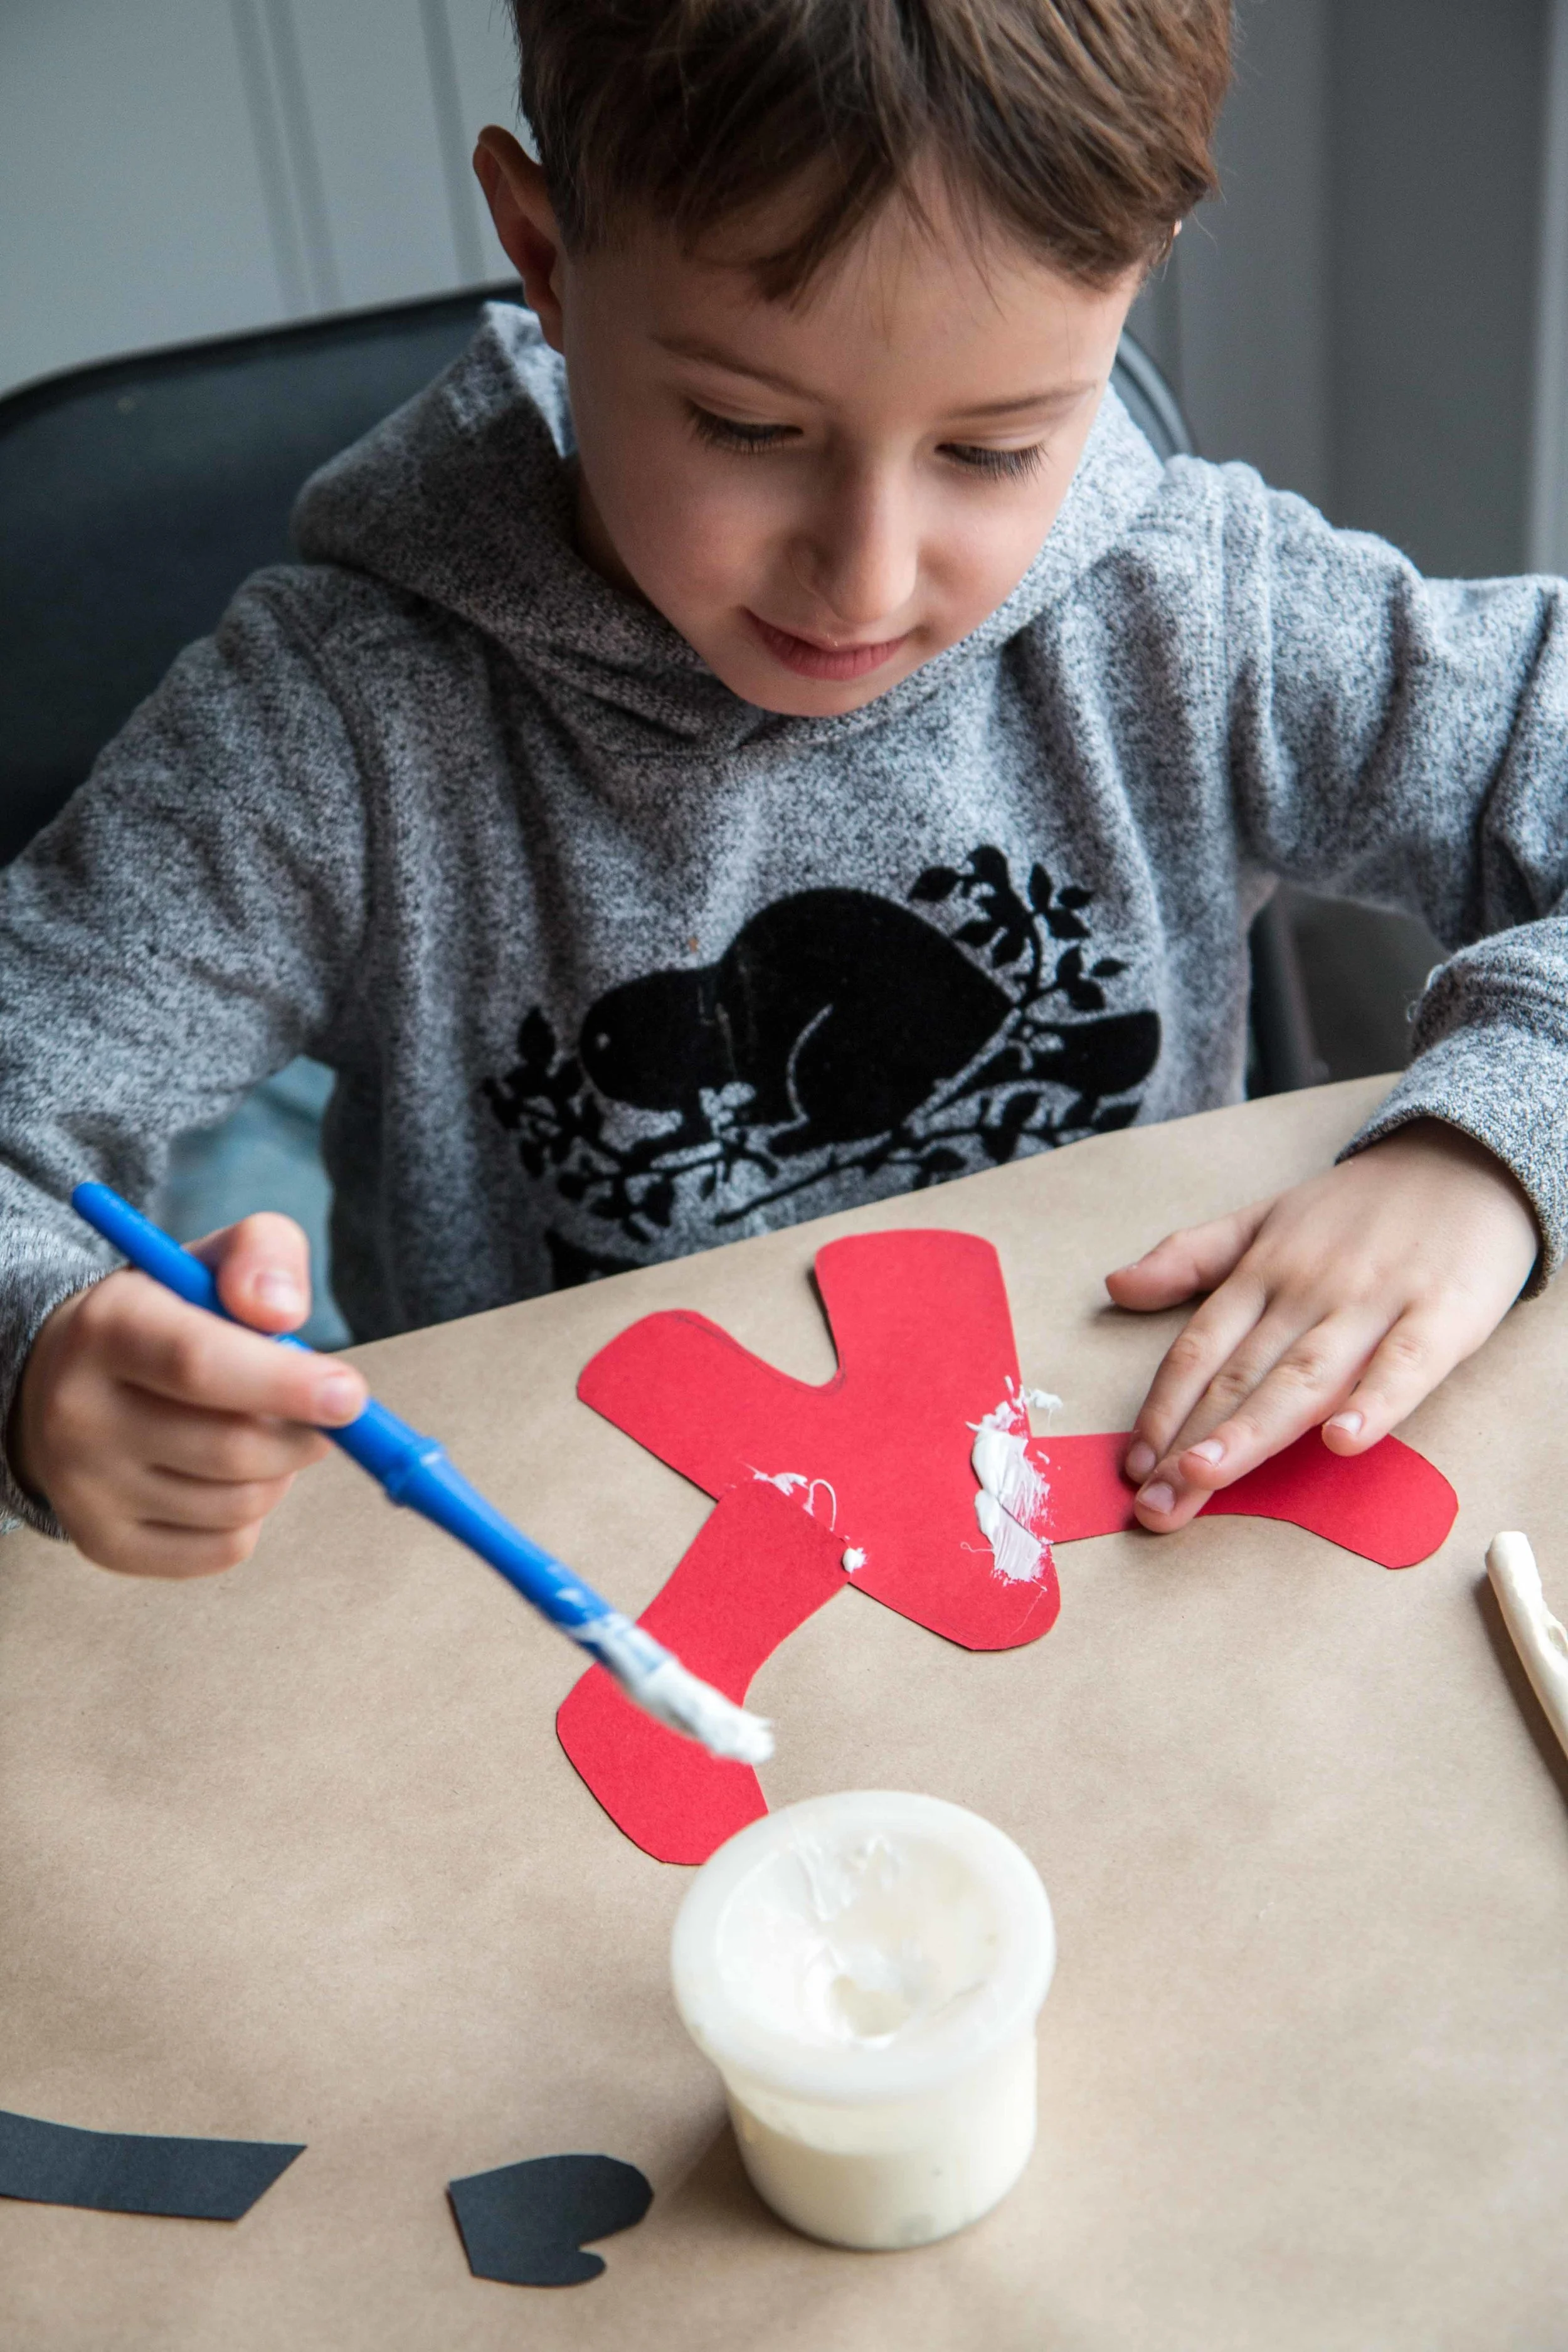
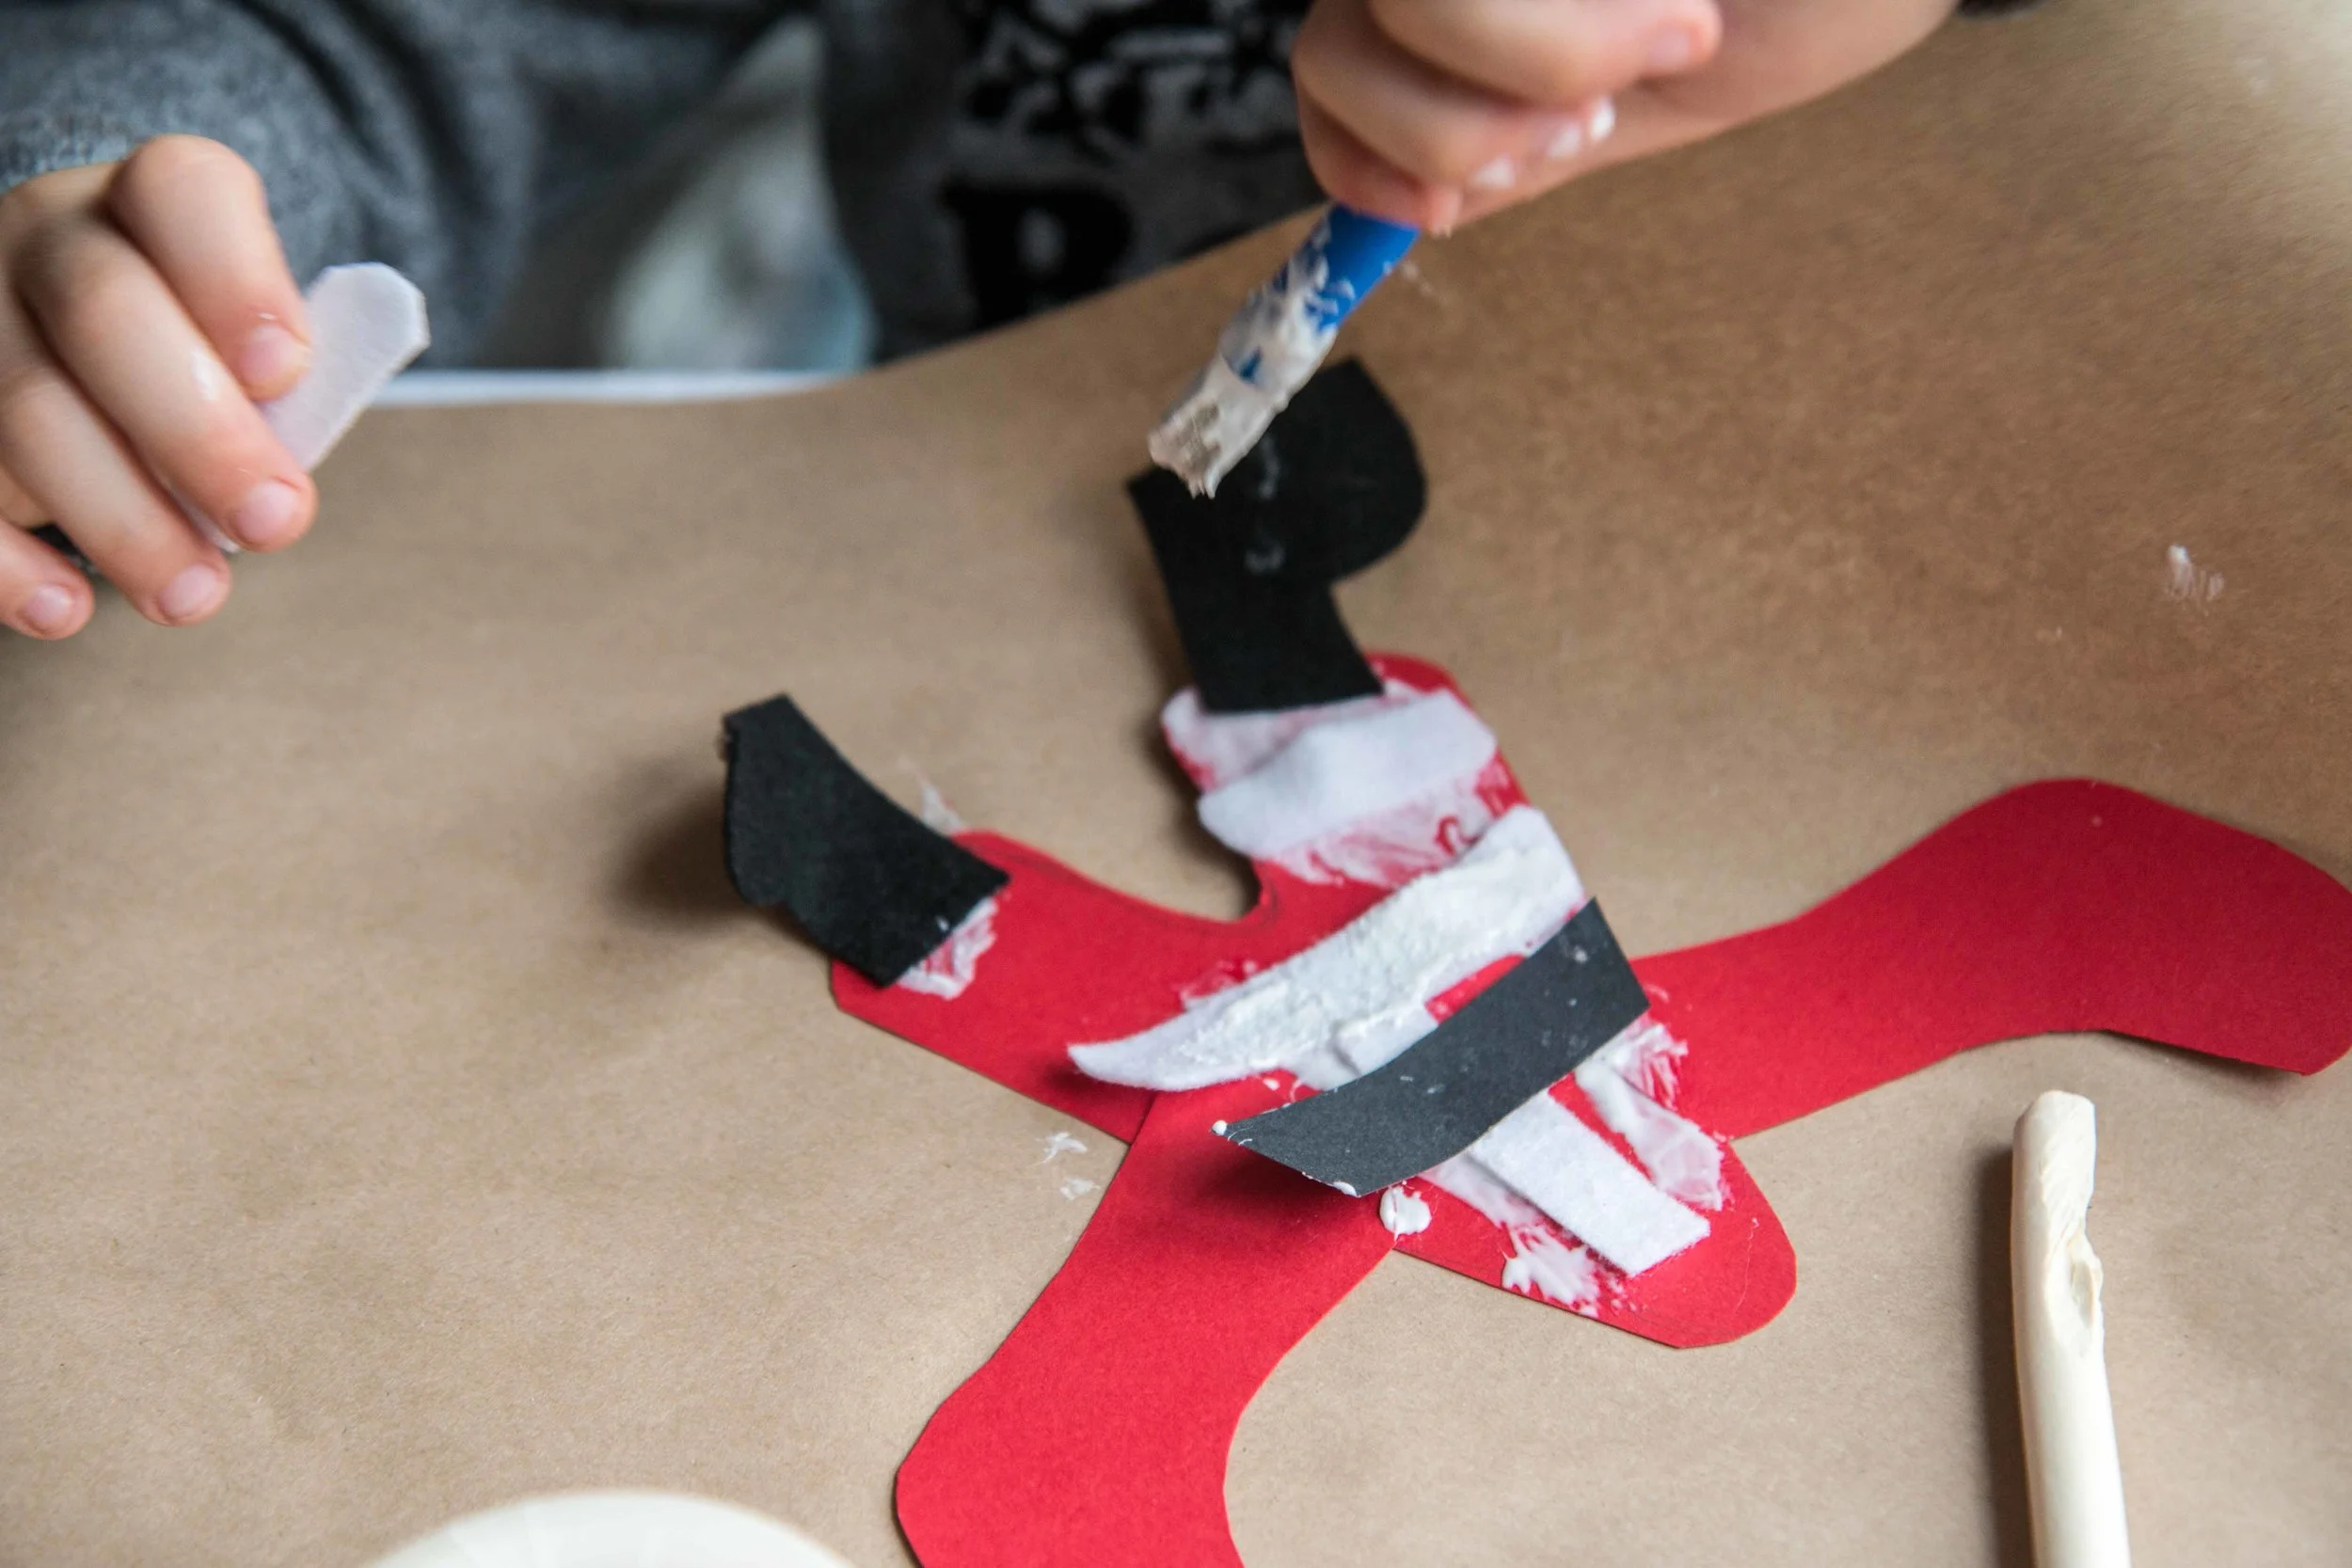
Step 4: Add the white trim to the middle of the body and the black belt and the last piece of white trim above the belt.
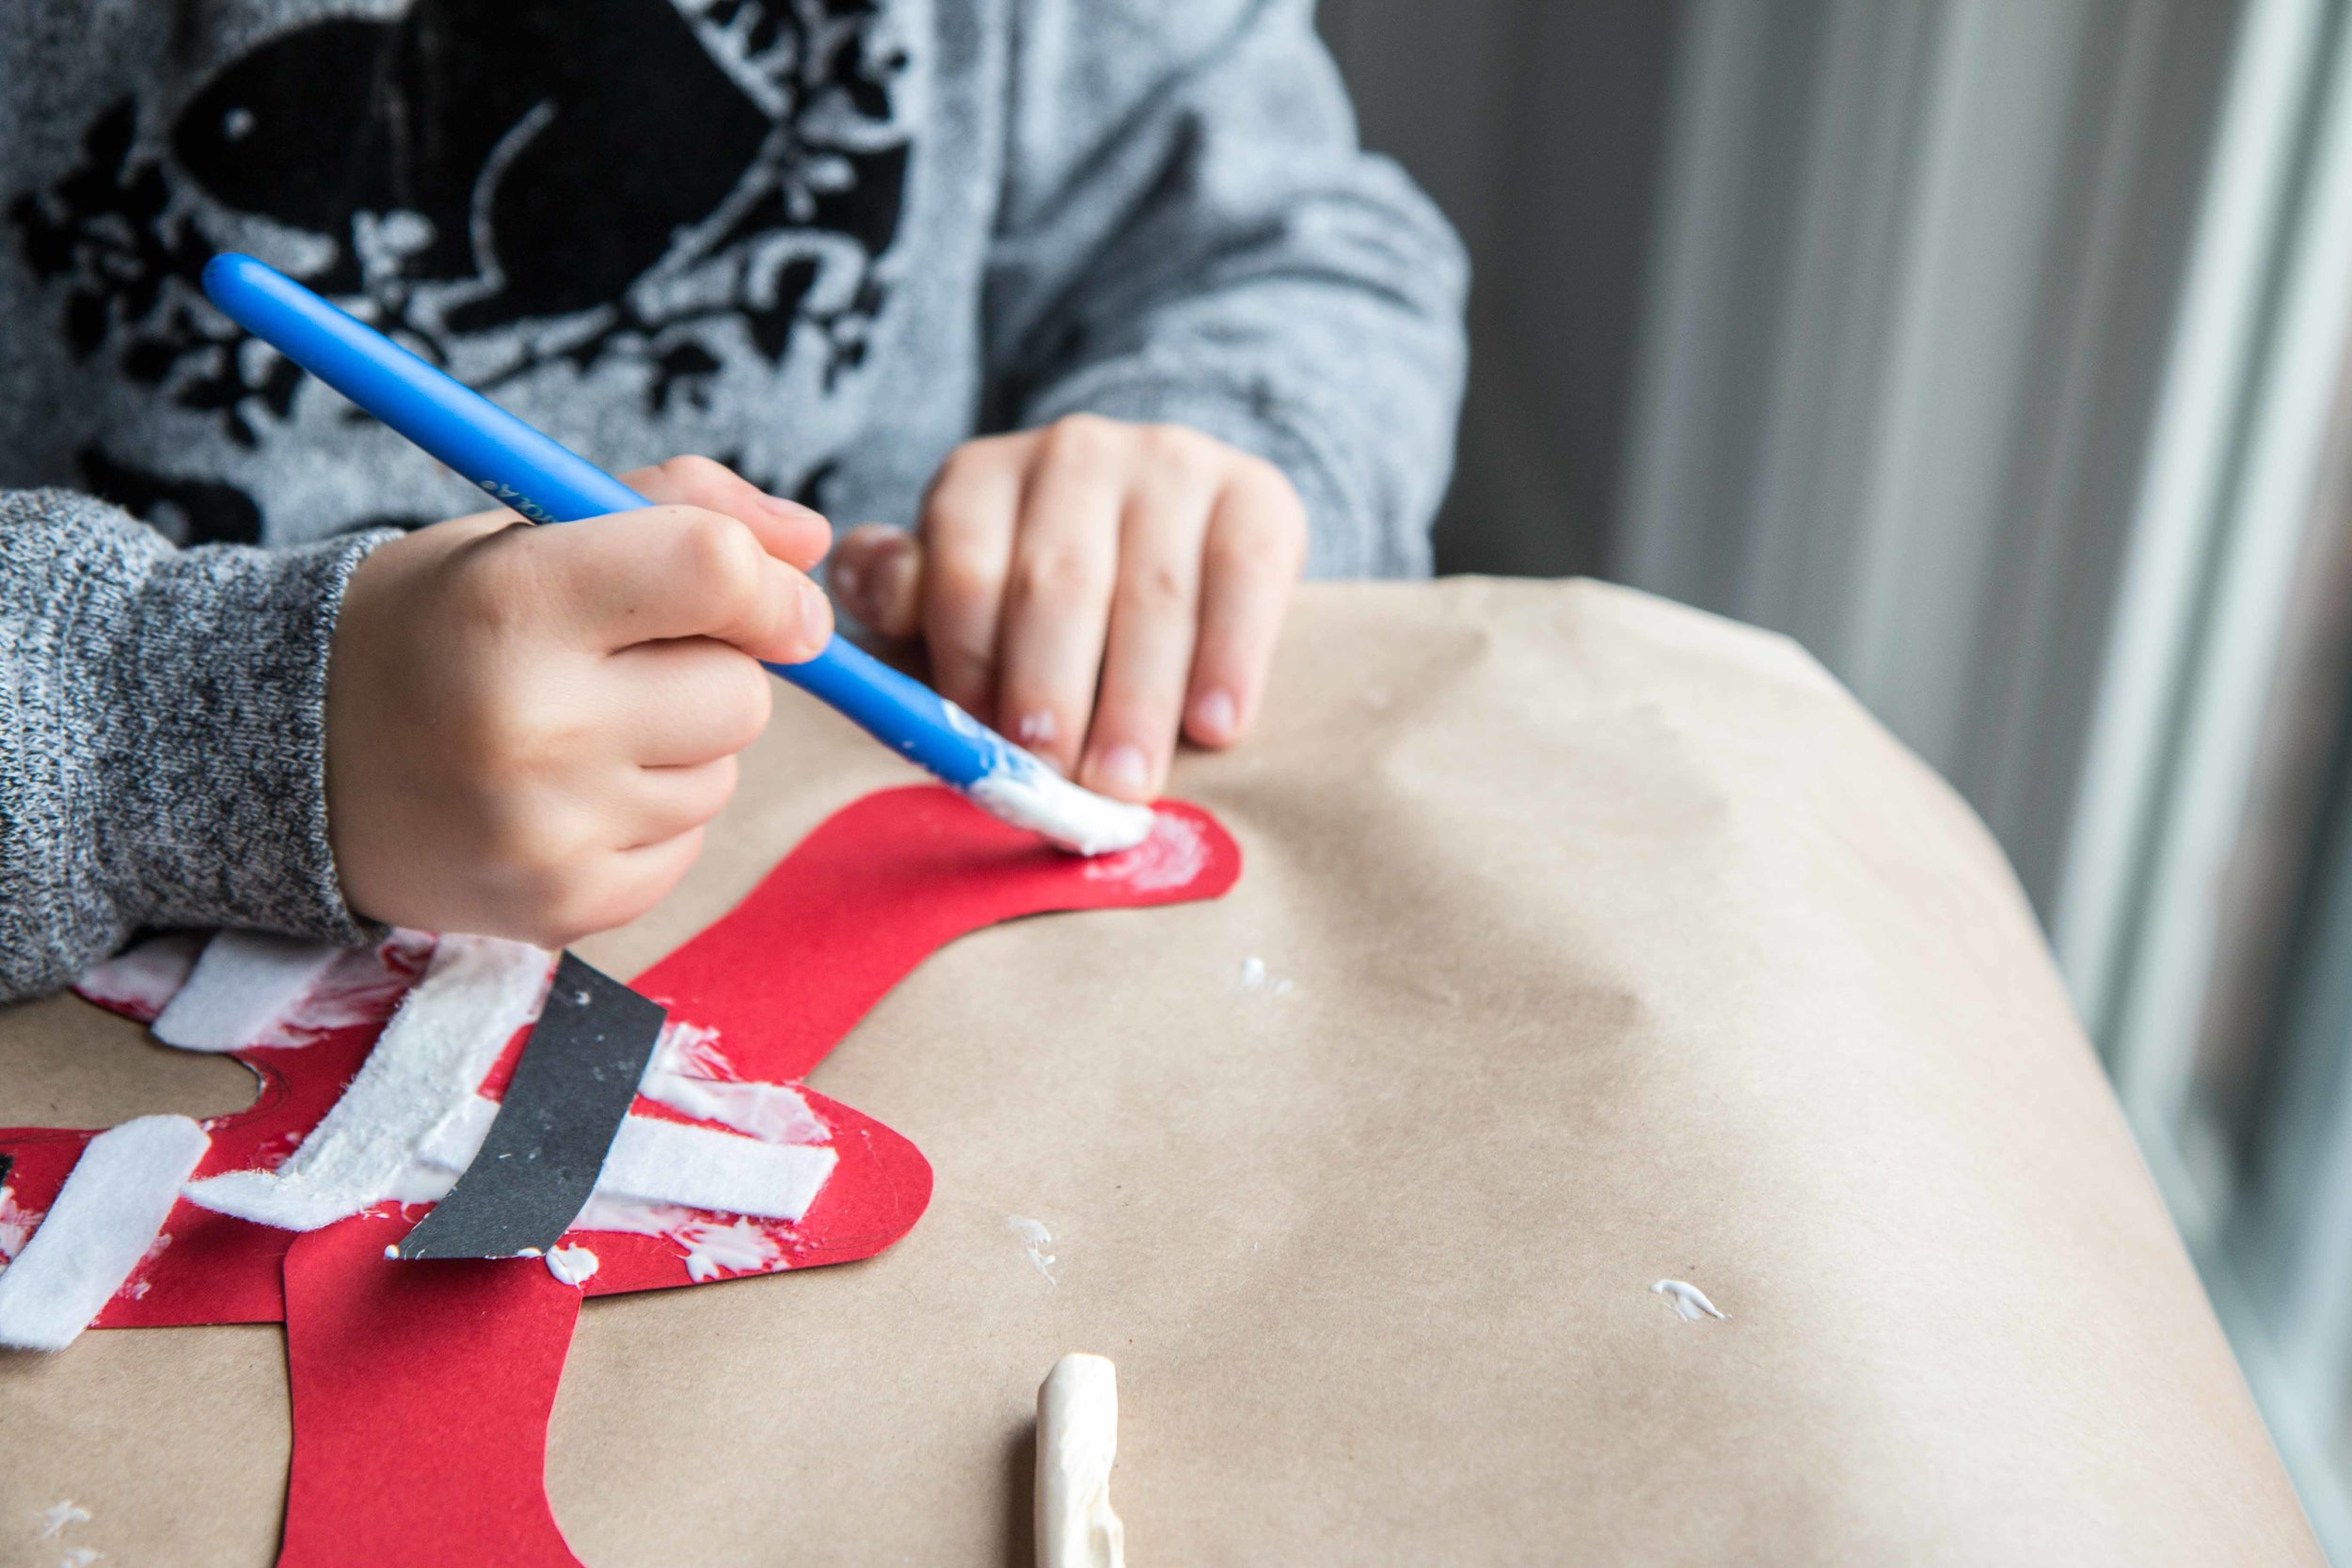
Step 5: Add the boots to bottom of each leg.
Step 6: Glue the mittens to the end of each arm.
Step 7: Add the white trim to the sleeves.

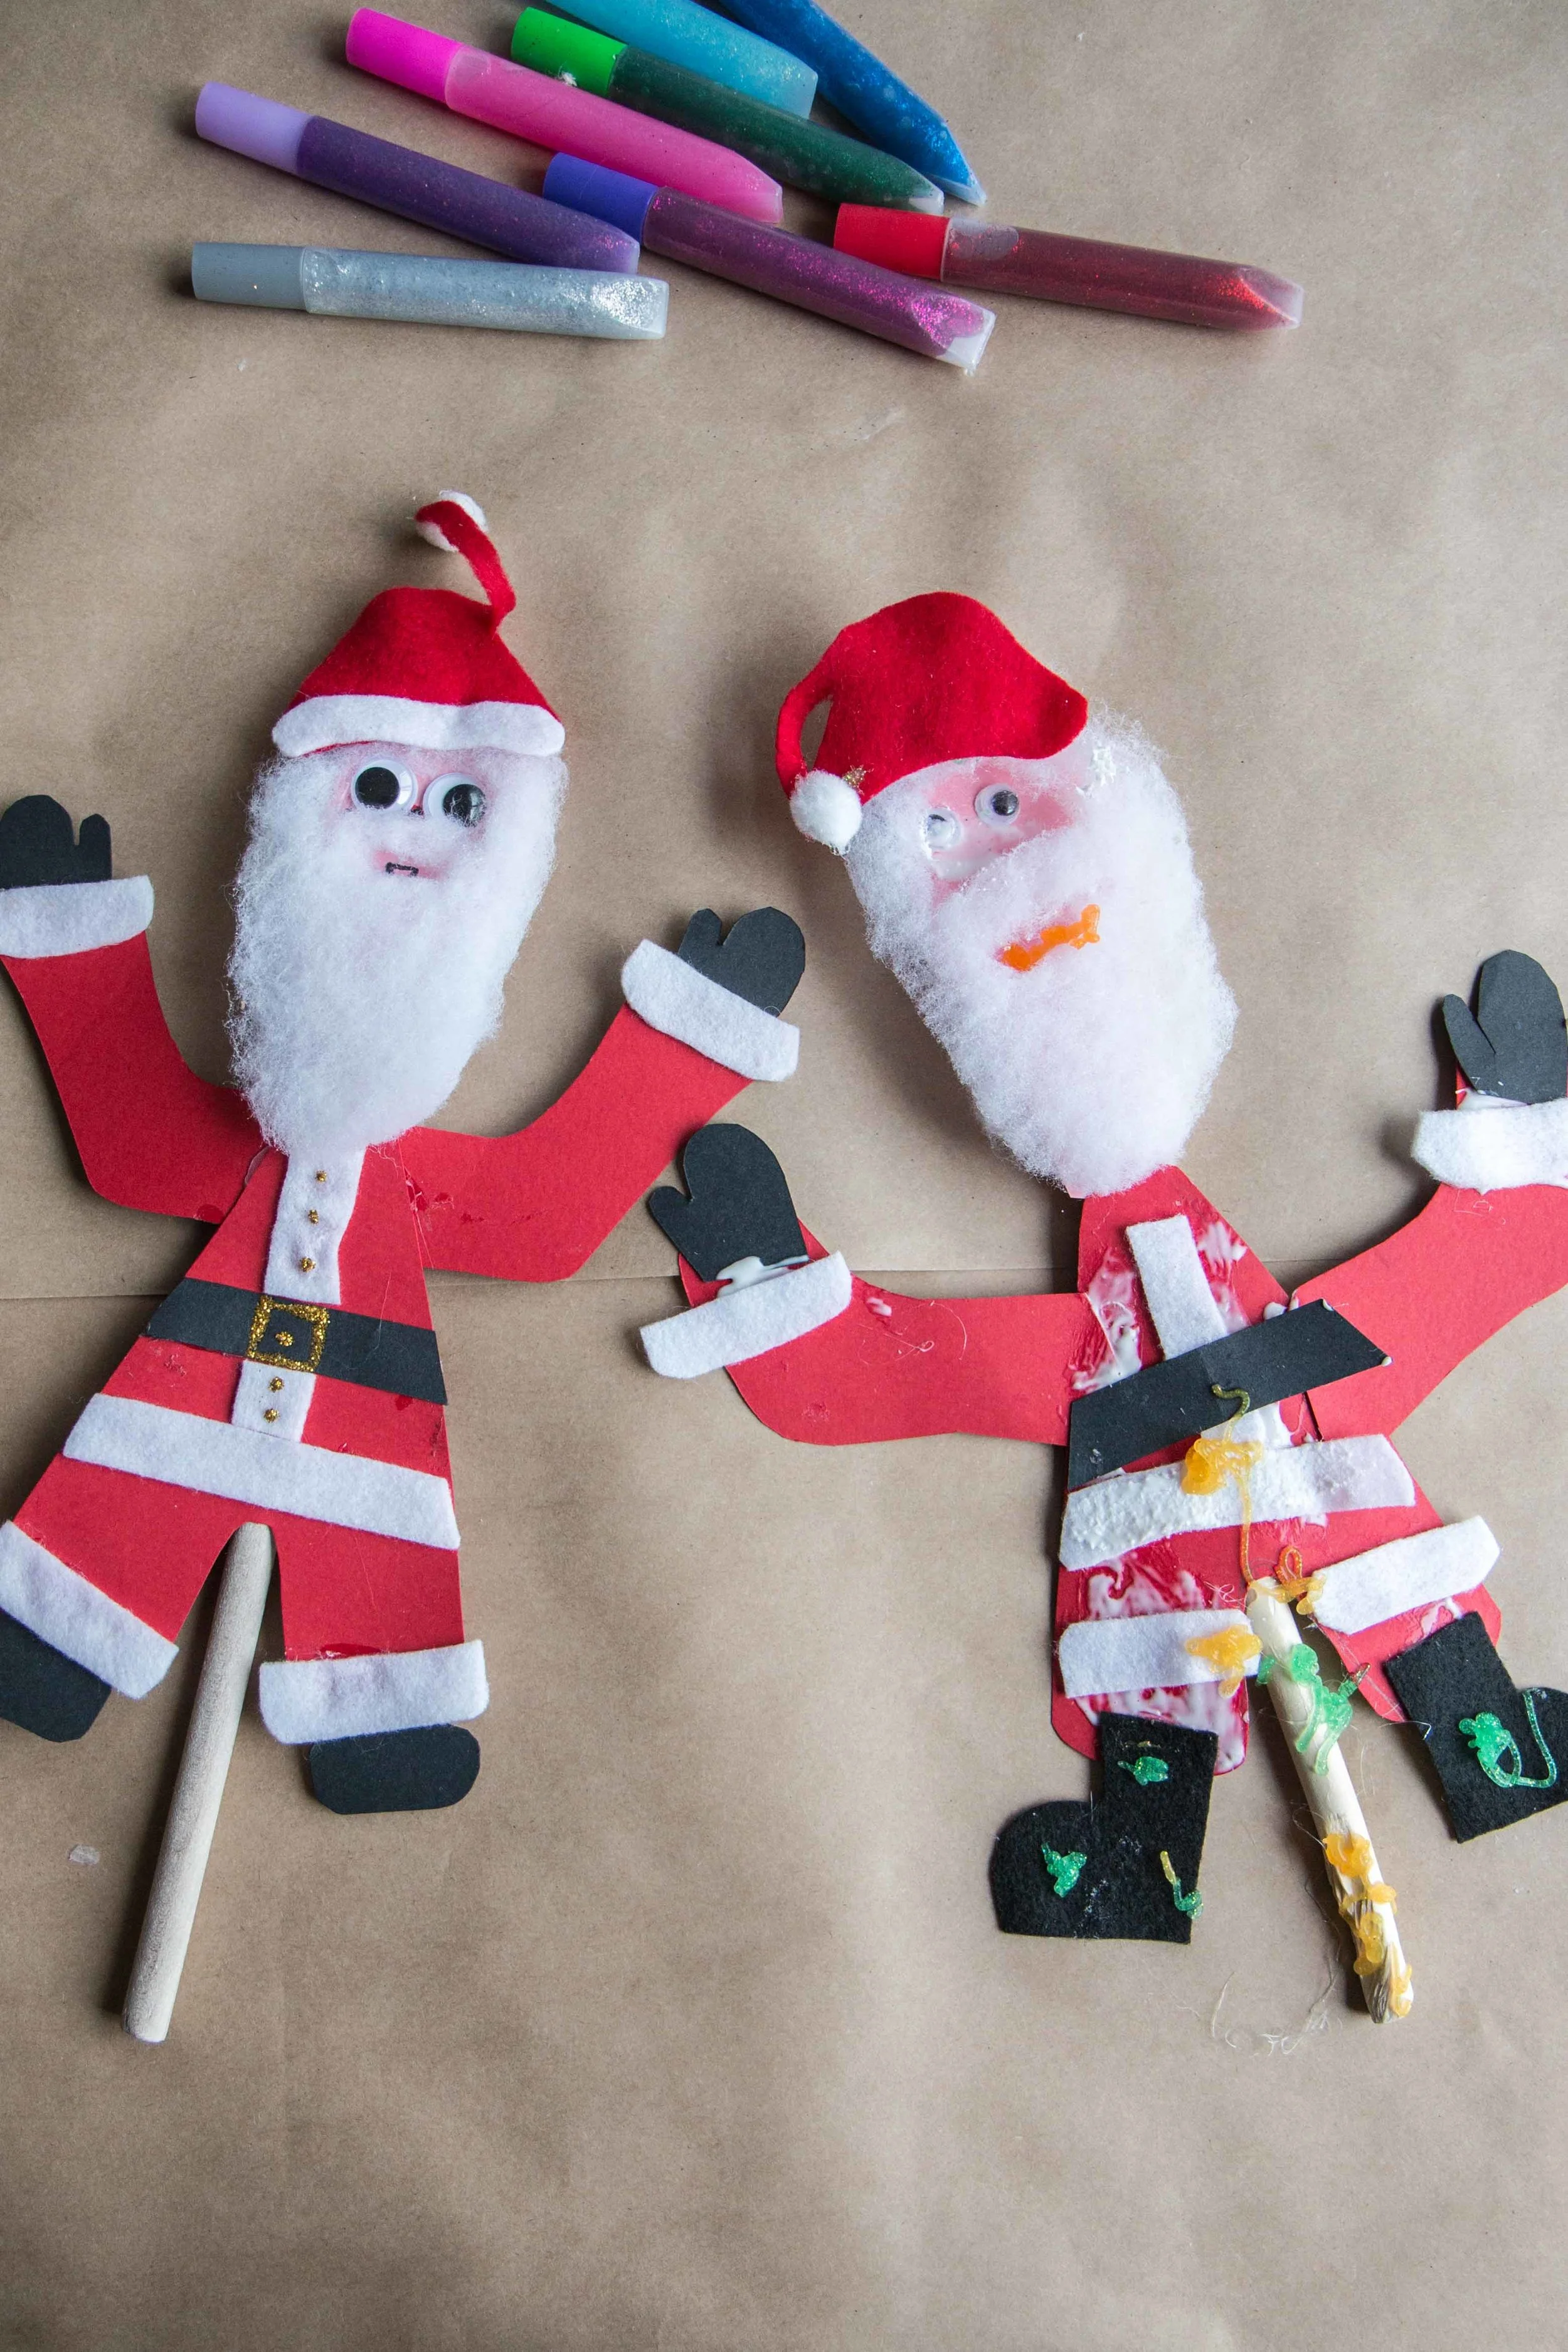
Step 8: Glue the assembled body to the stick of the spoon.
Step 9: Glue the beard onto the face.

Step 10: Glue Googly eyes onto the face and draw on the nose and mouth.
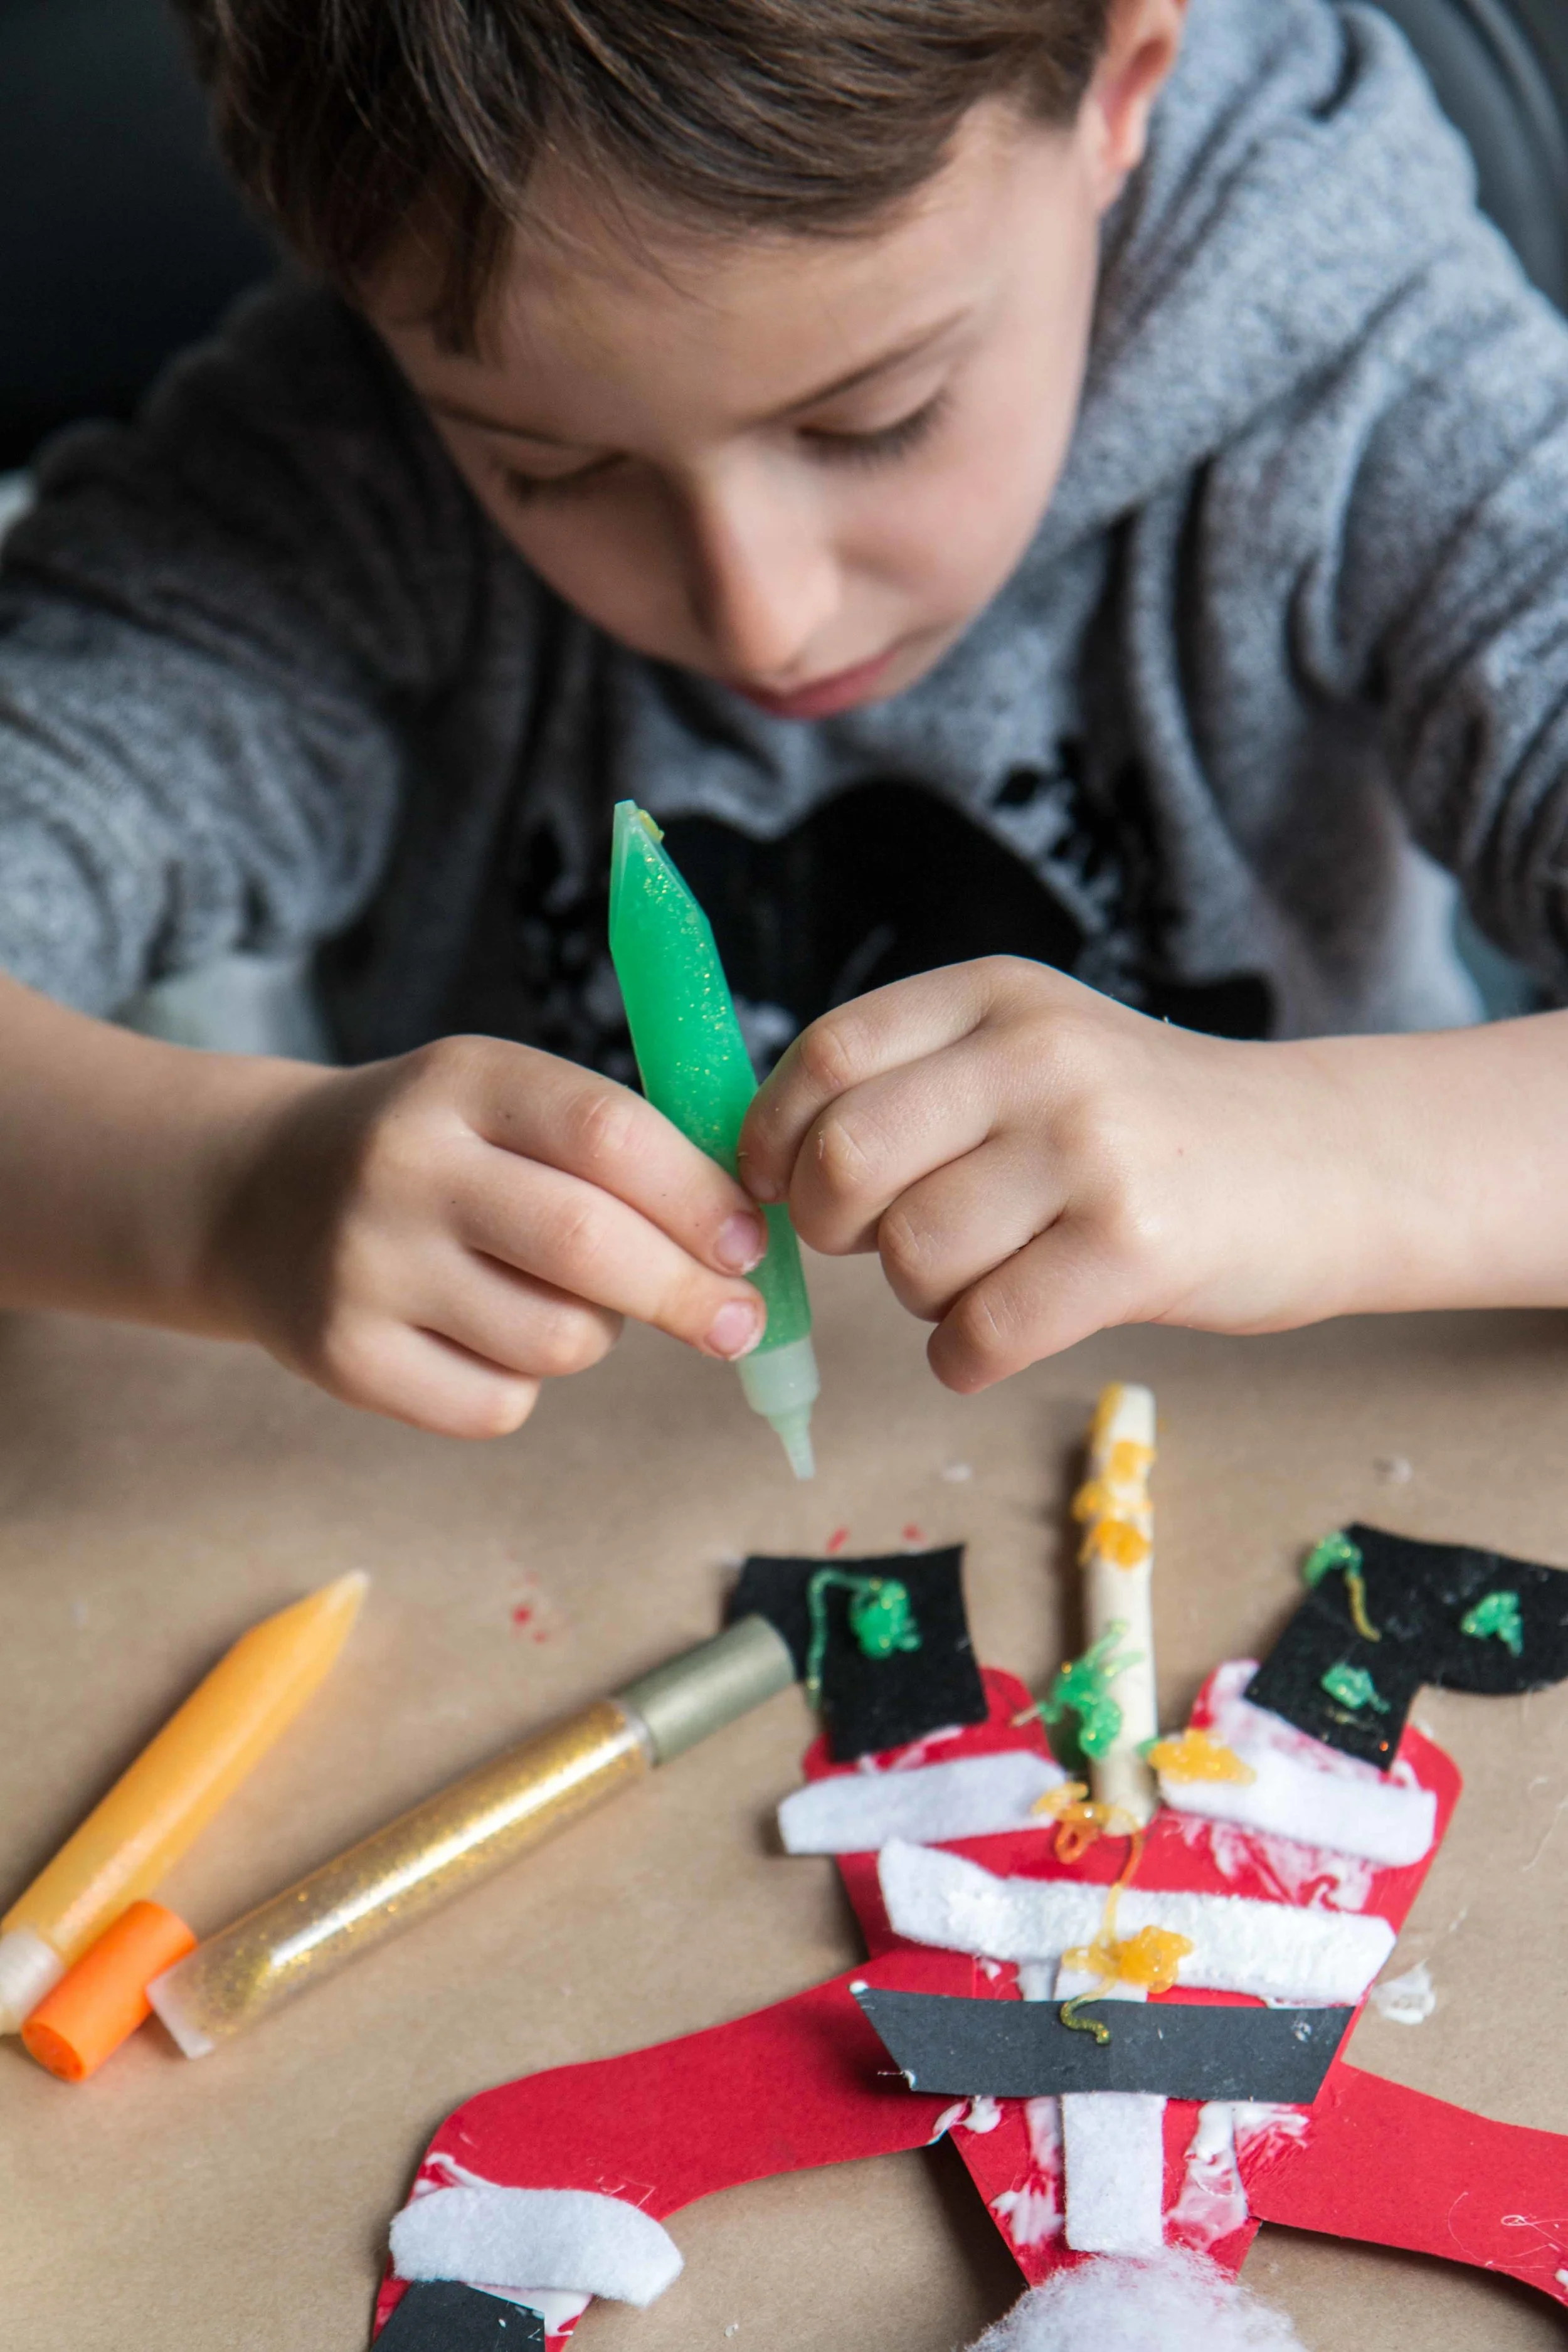
Step 11: Use gold glitter glue to create a belt buckle.

Step 12: Glue the hat onto the head.
Step 13: Add any other embellishments.

Ho, ho, how cute are these?! Thanks again for your fab crafting skills, Marissa!